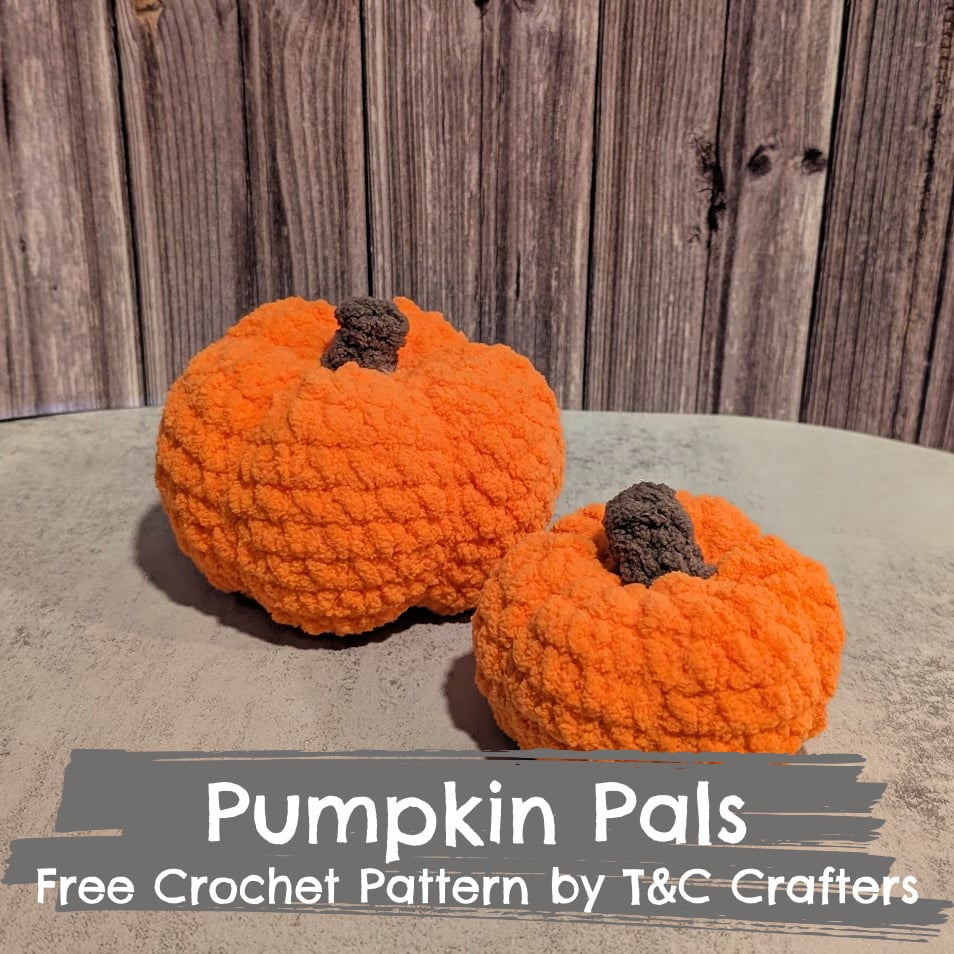
No-Sew Pumpkin Pals – Free Crochet Pattern
The No-Sew Pumpkin Pals is a free, beginner-friendly crochet pattern for a pumpkin stuffed toy designed by Candace of T&C Crafters. Within this post you can find the pattern and tips for making it.
Some of the links in this post are affiliate links for Wal-Mart, Amazon, and Etsy. If you go through them to make a purchase, I will earn a small commission at no cost to you. Thank you for your support!
It’s finally starting to feel like fall here in Pennsylvania, and with fall comes all of my favorite things – crunchy leaves, decorating pumpkins, going to festivals, and sweatshirt weather! This time of year, I love making pumpkins to give to others or sell at my craft shows. I normally use my knitting machine to make cute little pumpkins for home decor with a wooden stem, but this year, I wanted to be able to make some that are more kid-friendly.
The Pumpkin Pals is an easy, no-sew pattern that works up really quickly! They are made to be kid-friendly and are fully crocheted, so there are no loose or hard pieces that could hurt a child. You can choose to make your Pumpkin Pals in a variety of colors and sizes. Plus, you can decorate them with a fun face or leave them plain! When I took these to my fall markets, they were a hit with my customers! I hope you will love them just as much!
What Supplies Do You Need to Crochet Pumpkin Pals?
- Super Bulky (Weight 6 Yarn) in Your Pumpkin Color and Stem Color – I used Bernat Blanket yarn in Carrot Orange (pumpkin) and Taupe (stem).
- K10.5/6.5 mm Crochet Hook – I always use my Clover Amour hook!
- Scissors
- Yarn Needle
- Stuffing
- Optional: 10 or 15 mm Felt Eyes and Black Worsted Weight Yarn for Smile
- Pumpkin Pals, Free Crochet Pattern
Notes about Materials
The Pumpkin Pals were designed for super bulky (weight 6) yarn. When designing them, I used Bernat Blanket yarn in Carrot Orange for the pumpkin and Taupe for the stem. I also tried the pattern out with Bernat Baby Blanket in the color Melon for the pumpkin as well to make a lighter version. Other super bulky yarns such as Big Twist Cuddle, Premier Parfait Chunky, and Lion Brand Cover Story would work as well to maintain the size of the pumpkins.
For this weight of yarn, I always use my K10.5/6.5 mm Clover Amour hook. I have really tight tension when crocheting, so this hook works well for me with weight 6 yarn. If you have looser tension, you will likely want to go with a smaller hook to make sure that you don’t have gaps between your stitches. While gauge is not essential for this type of project, you don’t want to have stuffing coming out between your stitches!
While this project is a no-sew pattern, you will have to use your yarn needle to embellish some lines on your pumpkin and add the optional facial features. I recommend using a steel yarn needle, as it makes it much easier to push the needle through the stuffed pumpkin.
Adding a face to your pumpkin pals is totally optional. I use felt eyes when adding features to my stuffed toys to make them safer for kiddos. Did you know that safety eyes can actually come out of crocheted stuffed toys easily and can be incredibly dangerous for small children and pets? While there are steps you can take to make sure your safety eyes don’t fall out, I just choose to use felt eyes instead. Whichever eye type you use, I recommend 10 mm eyes for the Lil’ Pumpkin Pal and 15 mm eyes for the Big Pumpkin Pal.
What Size is a Finished Pumpkin Pal?
This pattern includes two sizes of Pumpkin Pals. The Lil’ Pumpkin Pal measures approximately 3.5 inches wide and 2.5 inches tall. The Big Pumpkin Pal measures approximately 5 inches wide and 3.5 inches tall.

Gauge (Not Essential)
Using a K10.5/6.5 mm crochet hook and Super Bulky (weight 6) yarn, a magic circle with 8 single crochets should measure about 1 inch in diameter.
Abbreviations (US Terms)
- SC – Single Crochet
- INC – Single Crochet Increase
- INV DEC – Invisible Decrease
- FO – Finish Off
Special Stitches
Magic Circle – This pattern starts with a magic circle. Here is a video tutorial by MJ Carlos on how to make a magic circle and crochet single crochets into the the circle (or ring).
Invisible Decrease – I use invisible decreases when reducing stitches in the round. Here is a video tutorial by A Menagerie of Stitches on how to crochet invisible decreases.
Crochet Pattern
Lil’ Pumpkin Pal
Round 1: 8 SC in magic ring (8)
Round 2: INC in each stitch around (16)
Round 3: [SC, INC] X 8 (24)
Rounds 4-8: SC in each stitch around (24)
Round 9: [SC, INV DEC] X 8 (16)
Begin Stuffing. Don’t make it too full!
Round 10: INV DEC around (8)
Finish Stuffing. Make sure not to overstuff!
Round 11: Change to Brown. INV DEC around (4)
Rounds 12-13: SC around (4)
FO and hide tail
Big Pumpkin Pal
Round 1: 8 SC in magic ring (8)
Round 2: INC in each stitch around (16)
Round 3: [SC, INC] X 8 (24)
Round 4: [2 SC, INC] X 8 (32)
Rounds 5-11: SC in each stitch around (32)
Round 12: [2 SC, INV DEC] X 8 (24)
Begin Stuffing. Don’t make it too full!
Round 13: [SC, INV DEC] X 8 (16)
Round 14: INV DEC around (8)
Finish Stuffing. Make sure not to overstuff!
Round 15: Change to Brown. INV DEC around (4)
Rounds 16-17: SC around (4)
FO and hide tail.

Finishing Your Pumpkin Pals
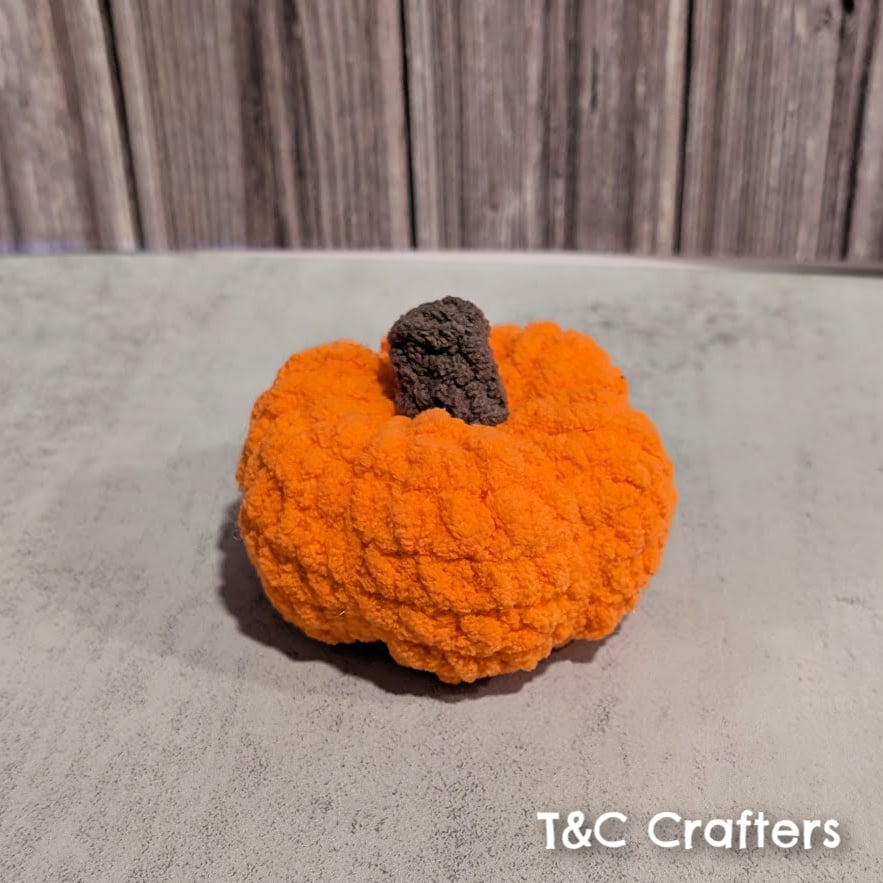
To add the ridges to your pumpkins so they look more like pumpkins and less like peaches or oranges, grab a long piece of your orange yarn! You want to secure the yarn to the bottom of your pumpkin by sewing through a stitch in your magic circle and double knotting it.
Take your needle up through the pumpkin, entering at the center of your magic circle and coming out where the stem is connected to the pattern. Pull snug and wrap the yarn around the outside of the pumpkin. Using the end of the yarn from your knot, double-knot your strand to secure it in place, making sure you pulled enough to create a ridge.
Repeat this process five more times for a total of 6 ridges placed evenly around your pumpkin. When you are finished, hide your ends inside the pumpkin with your yarn needle.
If you want to add a face, now’s the time! Attach your felt eyes a few stitches apart and embroider a small smile. Now you’re done!
I ask that you please do not copy, sell, republish, or redistribute this pattern. You may sell items produced using this pattern (in fact, I hope you do!), however, please do not use my photos for your product listing.
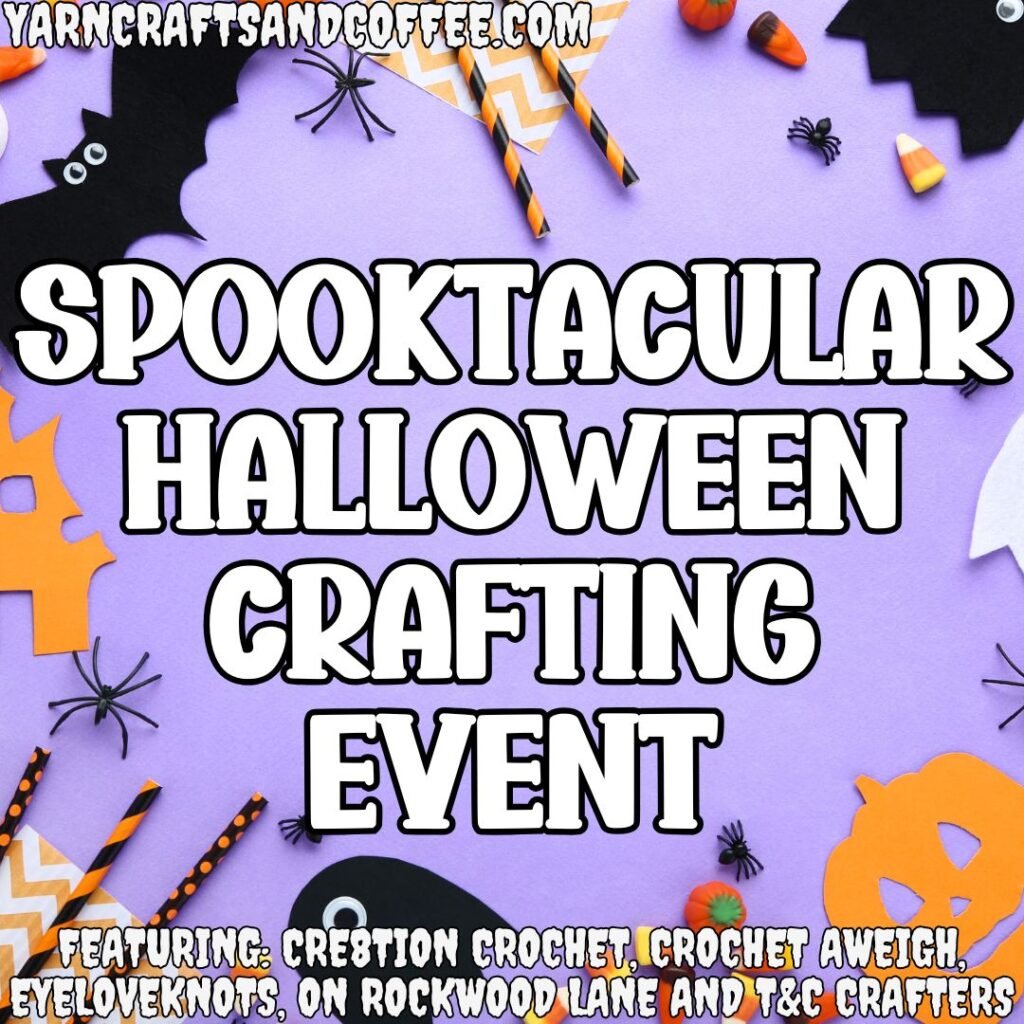
Looking for More Patterns?
Be sure to check out all the awesome Halloween Patterns from Yarn Crafts & Coffee!

Thanks for reading!
I hope you love this pattern! Be sure to comment below or tag me on social media @tandc_crafters if you decide to make one for yourself!
Be sure to follow along as I add new free patterns and tutorials to help you make the best of crochet markets!


How cute are these two?! I love that with the blanket yarn, you can have a whole pumpkin patch worked up pretty quickly.
Thanks! You really can! They work up so quickly!