Crocheted Bottle Opener Keychain – Free Pattern
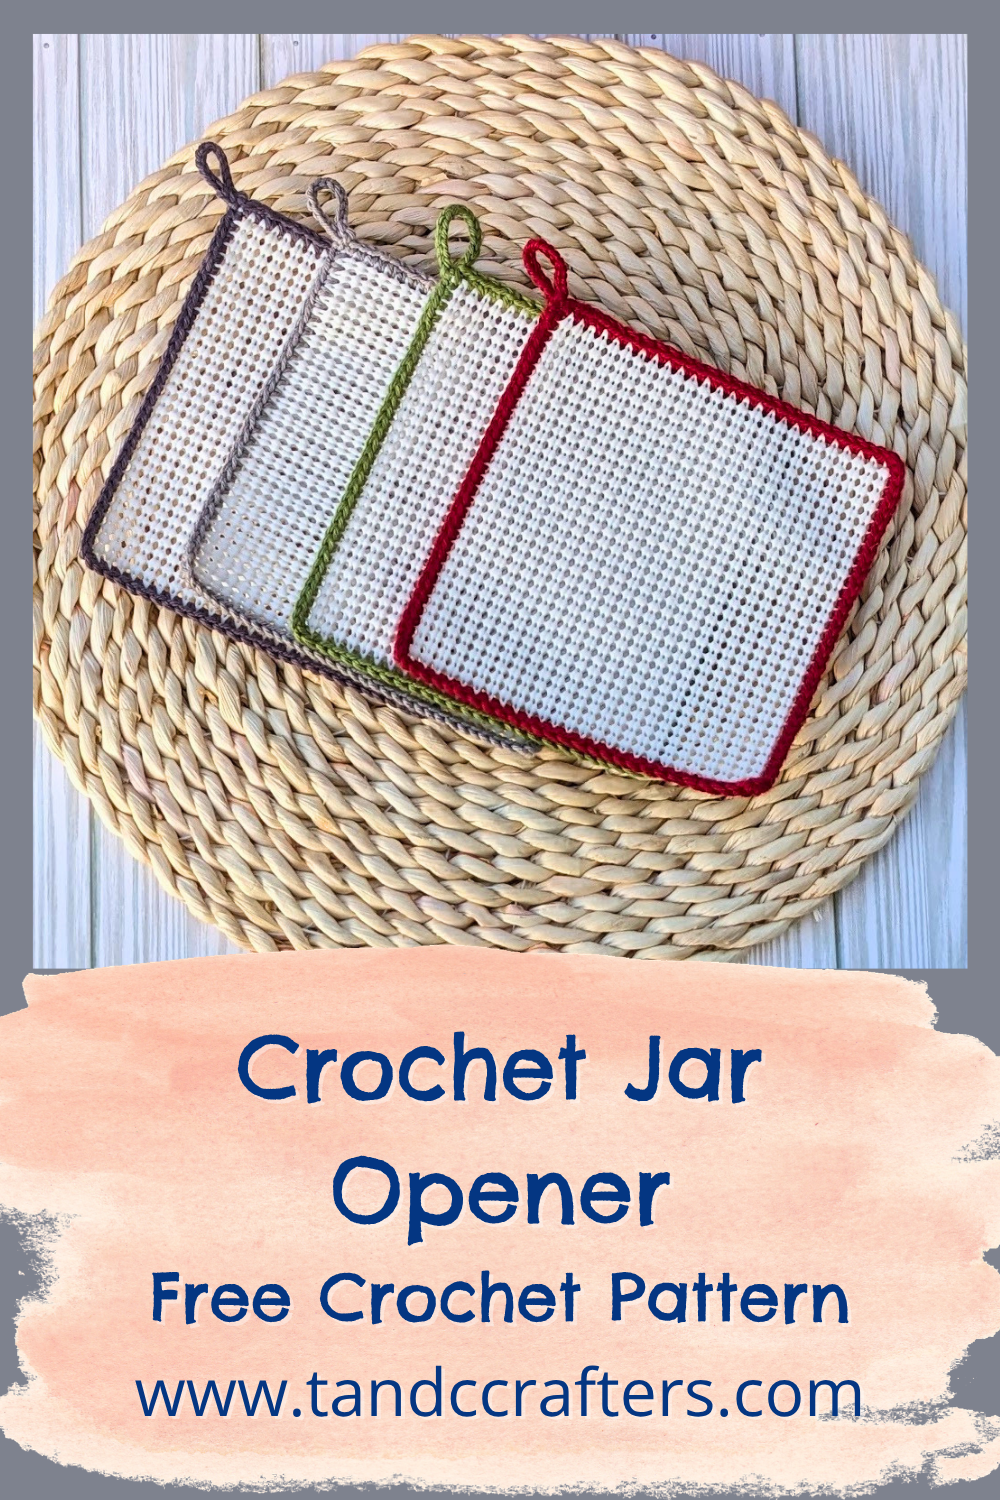
I have been absolutely blown away by the amount of support and views I have received for the Crocheted Edge Jar Opener that I posted last week! I want to send a big shout out to the Repeat Crafter Me Facebook Group and the Ash and Tay Crochet Facebook Group for checking out my pattern and making me feel wonderful!
When I posted the pattern for the Jar Opener, one of the lovely members shared that she makes smaller versions as bottle openers, and I thought that was absolutely genius! I decided to use her inspiration to come up with a bottle opener keychain pattern so you can open tricky bottle caps anytime and anywhere!

These make perfect gifts and are great for back-to-school! If you have a kiddo that always struggles to open the caps on their water bottle, this is perfect to attach to their backpack or their lunchbox! The best part about this pattern is that you can customize these to create any color combination, so the personalization is endless!
Some of the links in this post are affiliate links for Wal-Mart, Amazon, and Etsy. If you go through them to make a purchase, I will earn a small commission at no cost to you. Thank you for your support!
Materials:

- Shelf Liner – I used Easy Liner Select Grip Shelf Liner.
- Cotton Yarn – I used I Love this Cotton in Pewter.
- 2.75 mm Crochet Hook – I used a hook from this set.
- Scissors – I love using these scissors.
- Felt – You will need a piece that is at least 2″ by 3″ and can use any color. Here you can find a variety pack of
felt in lots of different colors. - Yarn Needle – I recommend using a pointier needle since the stitches are small.
- Lobster Clasps or Key Rings – I used 23 mm lobster clasps that I found at Michaels.
- An ice pick or center punch – I used a short punch that my husband had, but you could use an ice pick or a center punch.
Soft wood or thick cardboard to put under the felt when you use the punch.
Tutorial:
Begin by cutting your shelf liner into a small rectangle. I made my pieces approximately 2 inches by 3 inches. You want to make sure to cut in the gaps so that you have full holes to work with when you are crocheting.
Also, cut your felt to be the same size as your shelf liner piece. I recommend laying the shelf liner on top of the felt and carefully cutting around the outside. If you have a very small amount of the felt showing around the edge of the shelf-liner, that is perfectly fine. It is better for it to be a little bigger than to be too small.

Using your ice pick or center punch, very carefully punch holes through the felt by pushing firmly into the gaps around the outside of the shelf liner. You will want to put something under the felt while you are doing this so you don’t damage your workspace. I used a piece of soft wood, but you could also use very thick cardboard. You want to be able to push through the felt and into the wood/cardboard a little so you make actual holes in the felt rather than just tiny gaps.
When I make these keychains, I only punch along one side at a time for two reasons. One – It requires a good bit of effort to punch the hole, so I like to give myself a break for each side. Two – It helps me keep the felt aligned to the shelf liner.

Once you have the holes punched in one side, lay your shelf liner piece on top of the felt and line up the holes. Make a slip knot with your cotton yarn and put the slip knot on your hook. Insert your hook into the first gap in the shelf liner and through the hole you made in your felt. Pull the working yarn behind the felt piece, yarn over, and pull the yarn through the felt and the shelf liner. Make a single crochet. Continue this process the whole way down the side of the felt.

When you get to the end of the row, chain one, and single crochet in the corner gap again (you should have

To make the string for the key chain to be attached, chain 15. Then, cut your working yarn so you have a few extra inches to attach the piece and weave in the ends.

With the hook removed, carefully pinch the loop that was on your hook and feed it through the hole in the bottom of your lobster clasp or through your key ring. Then, re-insert your hook, tighten your yarn around the hook, and slip stitch into the stitch at the bottom of your chain (you will be inserting it slightly to the right of where the chain starts). Fasten off and you’re almost done!

Weave in your ends, and you are ready to use your finished key chain!!


I hope you enjoyed this tutorial! I think these key chains will make excellent gifts and quick items for markets and fairs. You can change up the colors for so many combinations. You can even add an image to the back of the felt using embroidery or an iron-on. The possibilities for personalization really are endless!
I’d love to know what you think about this pattern, and I’d love to see pictures if you decide to make it! Let me know your thoughts in the comments below! If you make some key chains, be sure to tag me on Facebook or Instagram using @onecraftatatime so I can see what you made!
Happy crafting!
~ Candace 🙂